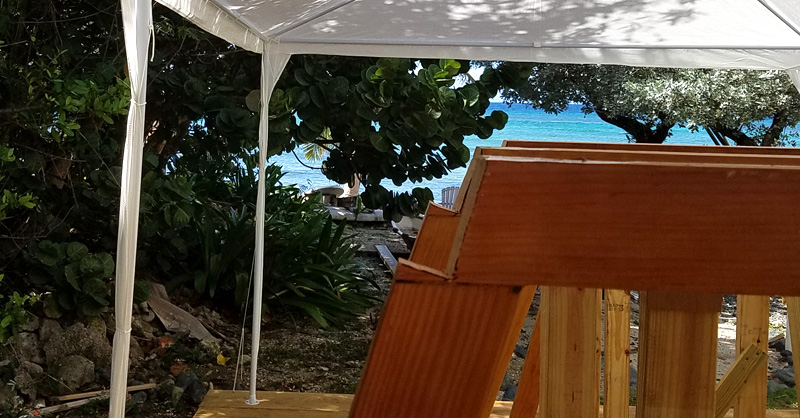
This is looking down the bottom corner, starboard side, keep in mind it is being build upside down at this stage. Looking at it from this angle, you can see how the frames are constructed to “develop the shape” of the hull. One of the next steps is to bend longitudinal members into these notches using a ton of clamps. These longitudinal members, called chines have to run the length of the boat; since we can’t buy wood that long we have to first scarf two lengths together. This bottom chine is “meaty” – a 2×4 – but there’s no way in heck a 2×4 would wrap/bend around these frames. Even if it was possible, the force would introduce twists and bends into the boat which would ruin its structure. Instead, we individually bend in two layers of 1×4 and laminate them together while clamped onto the frames. This process takes 2-6 weeks and can not be rushed or forced, else twisting or unnatural bending will occur.
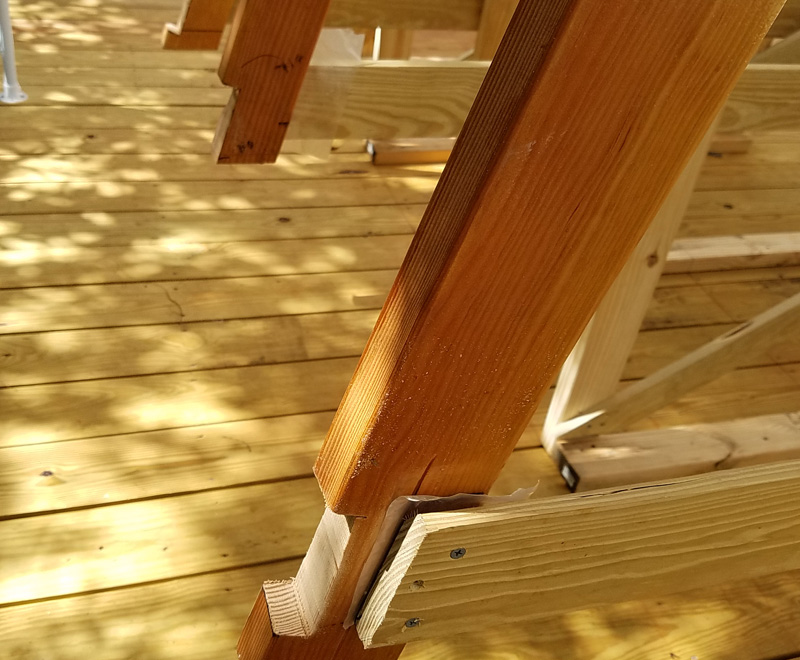
Here is the notching in the frame for the top starboard chine. This chine forms the shape of the top edge of the boat, but it doesn’t need to be as beefy as the bottom chine. A 1×4 will suffice (this makes Frank happy!) but two lengths still need to be joined to span each side of the boat. In the picture above, you can also see the strongback attached to the frame. The plastic prevents epoxy from fouling up the temporary attachment of the frame to the strongback. The strongback exists to hold the frames in place and provide structural support while the the hull is constructed. Once the hull is planked and the keel is attached, the strongback is entirely removed (and the material is *hopefully* reused in constructing the cradle.)